Installing Flutter doesn’t have to be complicated.
Whether you’re using Windows for the first time or setting up a brand new development machine, this guide walks you through the complete Flutter installation process step by step.
We’ll download the Flutter SDK, configure the required tools, install Android Studio and VS Code, set up an Android emulator, and verify everything using flutter doctor.
If you follow along, you’ll have a fully working Flutter development environment ready for building Android apps.
Step 1: Download Flutter
- Head over to flutter.dev and click on the “Get started” button.

- From here, choose your preferred platform — mine is Windows. Just below that, you’ll notice some system requirements that need to be met before we continue.

Step 2: Installing Git SCM
- Before setting up Flutter, we’ll need to have Git and VS Code installed on our computer. Let’s start with Git.
- Head over to: git-scm.com/downloads/win
- Then click on the “Click here to download” link.
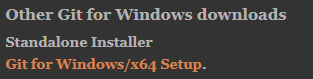
- Once the download finishes, you’ll get a setup file
- Double-click the setup file to install Git, and simply follow the on-screen instructions. Once the installation is complete, uncheck everything and click Finish.
Step 3: Installing Visual Studio Code
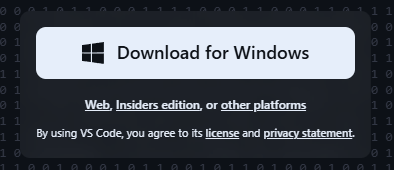
- Next, we’ll need VS Code, our main code editor for Flutter. Head over to: code.visualstudio.com Click on “Download for Windows” to get the setup file.
- After the download is complete, you’ll see a file. That’s your setup file — just double-click it, follow the installation instructions, and install VS Code. Once the installation is done, we’re ready for the next big step — downloading Flutter.
Step 4: Installing Flutter
- Now, head back to: Flutter’s Quick Start page. You’ll see a section titled “Install and set up Flutter.” That’s the one we need.
- In that section, click on “Install Flutter manually.” This will take you to the official manual installation page: flutter.dev/install/manual
- Here’s where we’ll download Flutter itself.
- Look for the big button labeled something like:
flutter_windows_x.xx.x-stable.zipCode language: CSS (css)- Click on it — this will start the download. Once it’s done, you’ll have a ZIP file. This is the current version of Flutter, but depending on when you’re reading this, the version number might be different — and that’s totally fine.
- Now, we need to extract the ZIP file — and where you extract it really matters.
Important:
Don’t install Flutter inside Program Files — it can cause permission issues and mess up your setup later.
- Instead, create a clean directory structure like this:
C:\src\flutter\- First, create a folder named src
- Inside it, create another folder named flutter
- Then extract all the Flutter files inside that flutter folder.
- Once the extraction is complete, now inside the Flutter folder, you’ll see a directory named
bin. - Go ahead and open that folder, then copy the folder URL from the address bar — we’ll need this path in the next step.
- See that blue highlight in the address bar? That’s the folder path (URL) you need to copy.
- Now that you’ve copied it, open your Start menu and search for: “Edit the system environment variables”
- Click on it, and you’ll see a window pop up:
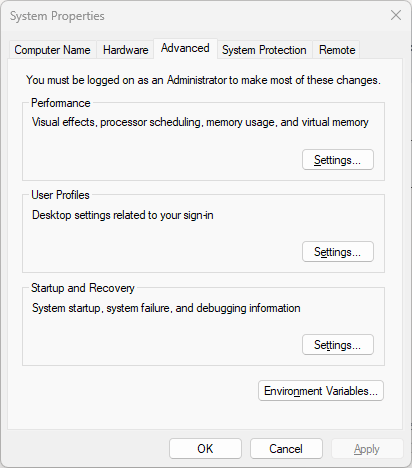
- Once that window opens, click on the “Environment Variables…” button at the bottom.
- In the new window that appears, look under the System Variables section and find the variable named Path. Double-click on it. You’ll then see a list of paths:
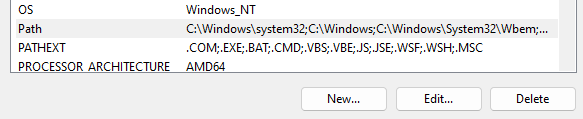
- Now, scroll to the bottom of the list, and double-click on the empty line below the last entry.
- Paste the Flutter
binpath you copied earlier — it should look something like this:
C:\src\flutter\bin
- Once done, click OK to close all the windows and save your changes.
- See that blue highlight? That means Flutter has been successfully added to your system variables.
- Now, click OK on all the open windows to save and close everything.
- Once that’s done, open your Terminal or Command Prompt, and type the following command:
flutter --version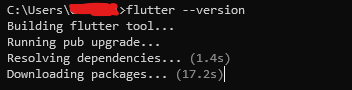
- When you see this message, it means Flutter is setting up on your system — downloading all the necessary components for the first time.
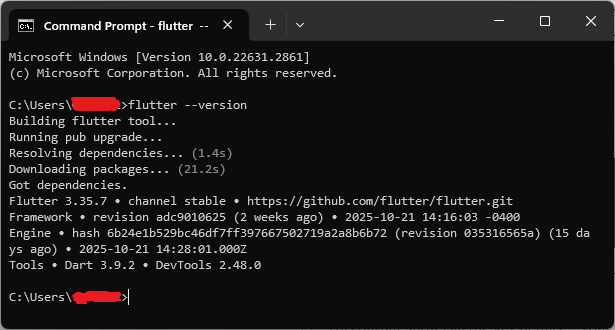
- This output shows all the key details — your Flutter version, Dart version, and even the developer tools that are included.
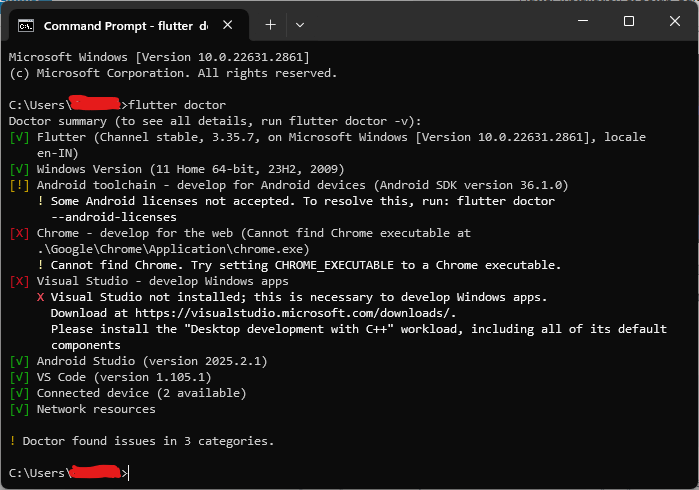
- Now, it’s time to check if Flutter has everything it needs to run properly. To do that, type the following command in your terminal:
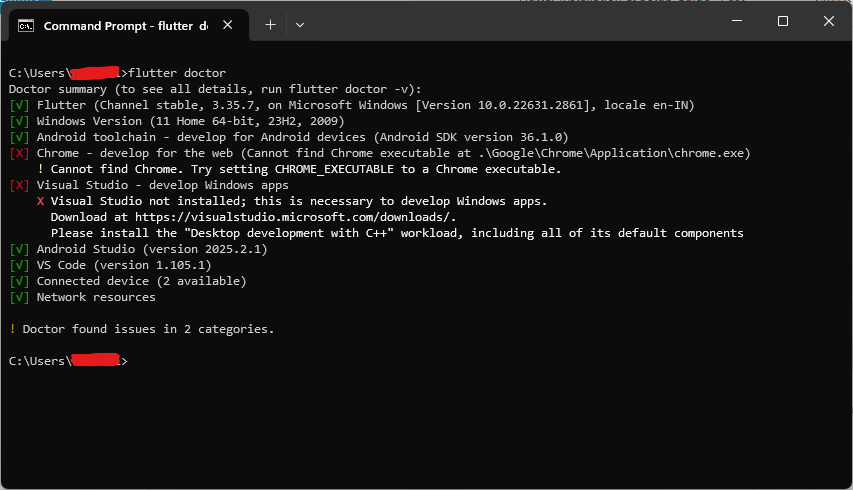
flutter doctor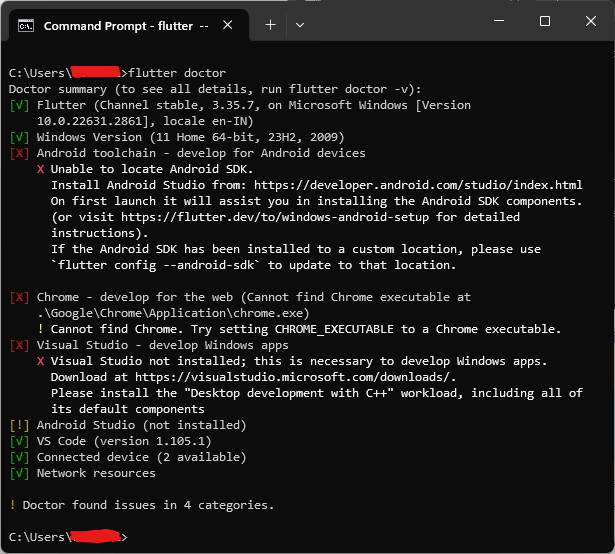
- Now, look at all those details — there’s quite a bit we still need to install and set up! Let’s start with the first one on the list: Android Studio.
Step 5: Setting Up Android Studio
- Head over to developer.android.com/studio Click on “Download Android Studio” and wait for the setup file to finish downloading.
- Now, go ahead and run the setup file to install Android Studio. Just follow the on-screen instructions — it’s pretty straightforward.
- When the installation wizard asks for components to install, make sure you select everything and then click Install.
- The installation might take a little while — Android Studio needs to download and set up several components, so just be patient and let it finish.
- Once everything’s installed, you’ll be greeted with the “Welcome to Android Studio” window:
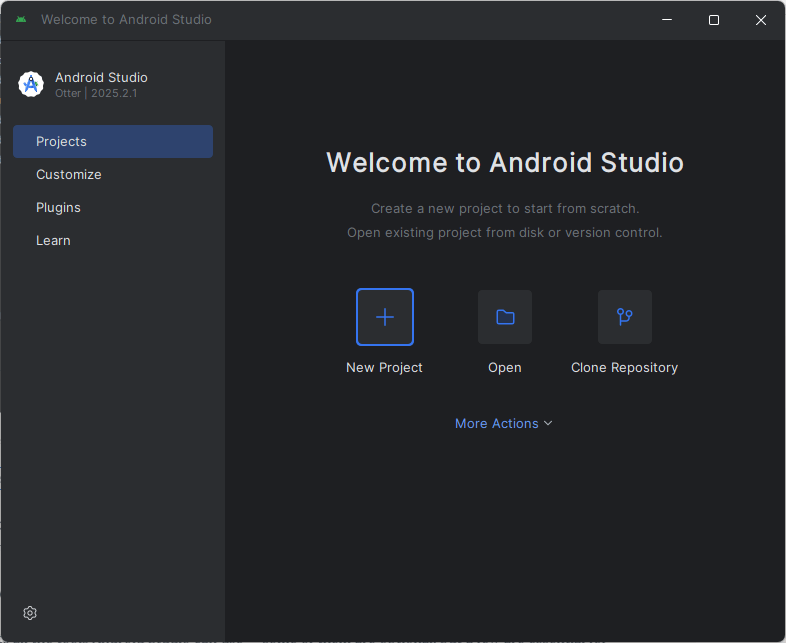
- From the Welcome to Android Studio window, click on “More Actions” at the bottom right corner. From the dropdown menu, select “SDK Manager.”
- From the SDK Manager window, click on the “SDK Tools” tab.
- This section lists all the tools Android Studio can use — some of them are optional, but a few are essential for Flutter to work properly.
- Now, in that list, look for “Android SDK Command-line Tools.” Make sure to check the box next to it — this is very important because Flutter relies on these tools to build and run your apps.
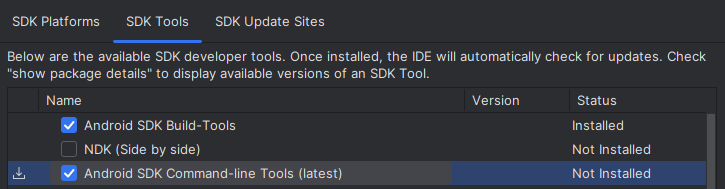
- Once selected, click Apply, and let Android Studio download and install the tools.
- Click Apply, then OK — this will start downloading and installing the SDK Command-line Tools. Once the installation is complete, click Finish, and close everything.
- Now, let’s open our terminal (or command prompt) again and run:
flutter doctor- This will recheck your system and update Flutter with the tools you just installed.
- Here, you’ll notice that Android Studio still has a yellow warning mark — that means there’s one last step we need to complete.
- To fix it, run this command in your terminal:
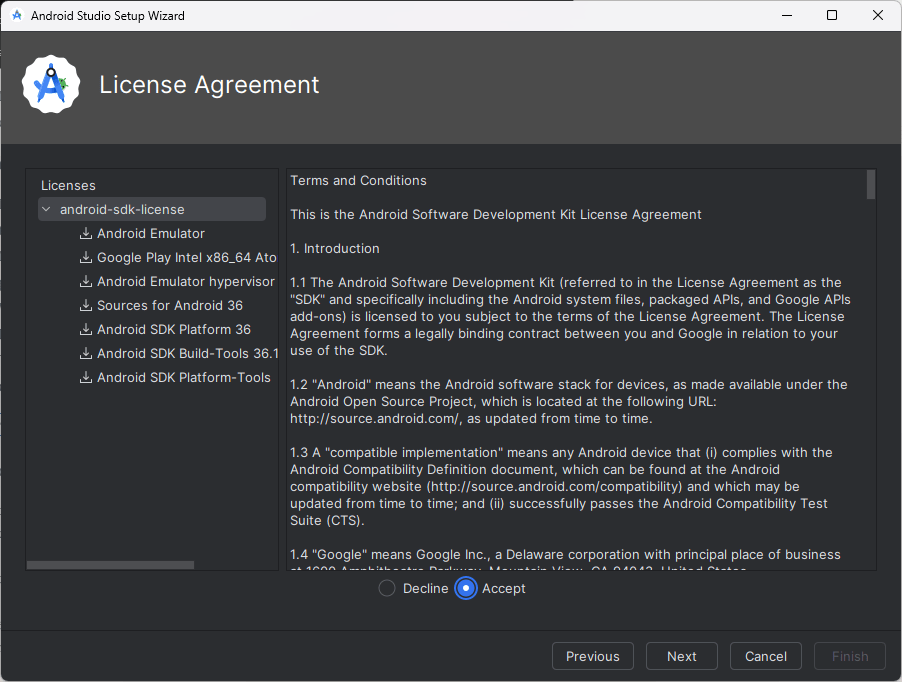
flutter doctor --android-licenses- You’ll be prompted to review and accept several Android licenses — just type
yfor yes each time until all are accepted. - Once that’s done, run
flutter doctoragain:
flutter doctor- And now, you should see something like this:
Step 6: Install Google Chrome
- Next, we’ll need to install Google Chrome — Flutter uses it as the default browser for running web apps.
- Head over to google.com/chrome Click on “Download Chrome”, and follow the setup instructions.
- Once the installation is complete, you’ll see Google Chrome ready to go on your desktop:
- See? We’re almost there! Just one more thing to install — Visual Studio — and we’ll be all set.
Step 7: Install Visual Studio
- Head over to visualstudio.microsoft.com/downloads. Scroll down a bit and download the Community Edition — it’s free and perfect for Flutter development.
- Once the installer opens, look for the option “Desktop development with C++.” That’s the one you need to select.

- Go ahead and select the “Desktop development with C++” option, then click Install.
- The setup may take a little while — Visual Studio downloads quite a few components in the background, so just let it complete.
- Once the installation finishes, run flutter doctor again, you’ll see everything installed and checked:
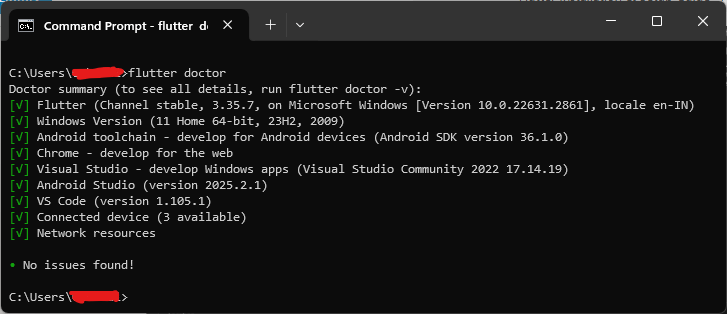
- Congratulations! You’ve successfully installed and set up Flutter on your system — great job!
Build Your First Flutter App with My Free Hands-On Class
You’ve already started learning Flutter. Take the next step with a free practical class where you’ll build a real app from scratch. Enter your email below for instant access.
Step 8: Creating a Flutter Project
Now, let’s create a quick test app to make sure everything’s working properly. We’ll call this project flutter_demo.
- Open your terminal (or command prompt) and type:
flutter create flutter_demo- Once the project is created, navigate into the folder by typing:
cd flutter_demo- Then, run the app with:
flutter run- And if everything’s set up correctly, you’ll see something like this:
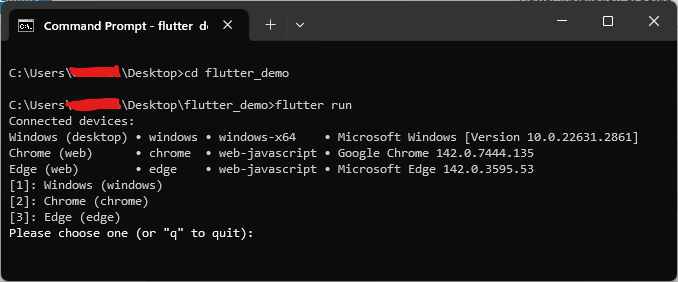
- But hold on — you might be wondering, “Why can’t I see any Android device?”
- That’s because we haven’t started the emulator yet. Let’s fix that.
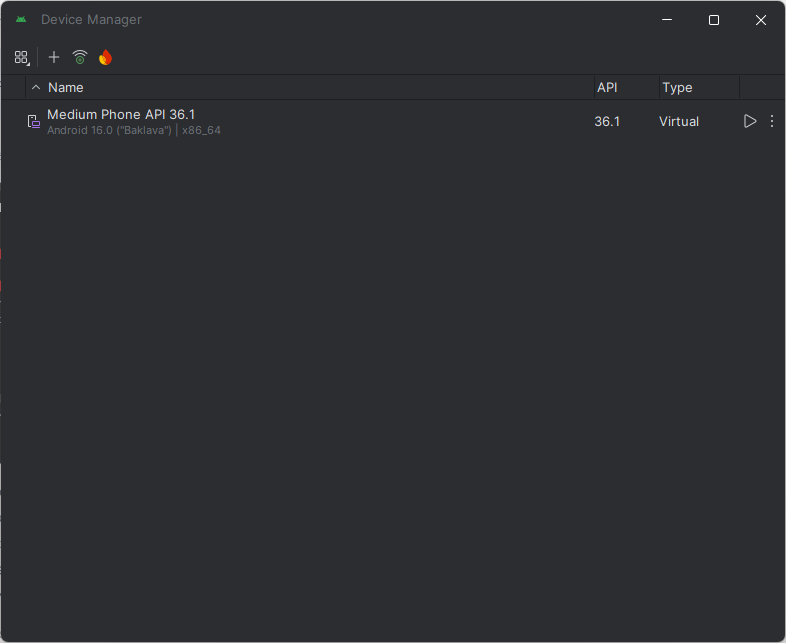
- Open your Start menu and search for Android Studio, then launch it. Once it’s open, click on “More Actions” → “Virtual Device Manager.”
- You’ll now see a window listing all your virtual devices (AVDs).
- Simply click the (Play) button next to your preferred device, and the emulator will start booting up.
Tip: The first startup is usually a bit slow, so don’t worry — just give it a minute or two to load completely.
- Once it’s up and running, you’ll see your Android emulator home screen
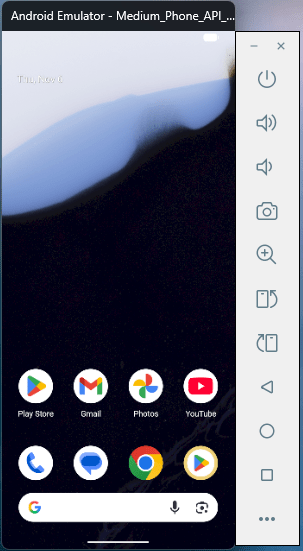
- And right beside it, you’ll see the emulator controls panel — this is where you can manage things like:
- Simulating phone calls, GPS, or battery levels
- Rotating the screen
- Adjusting volume
- Taking screenshots
- Now, head back to your terminal and run the command again:
flutter run- This time, you’ll notice something different — Flutter will automatically detect your Android Emulator and start running the app on it by default.
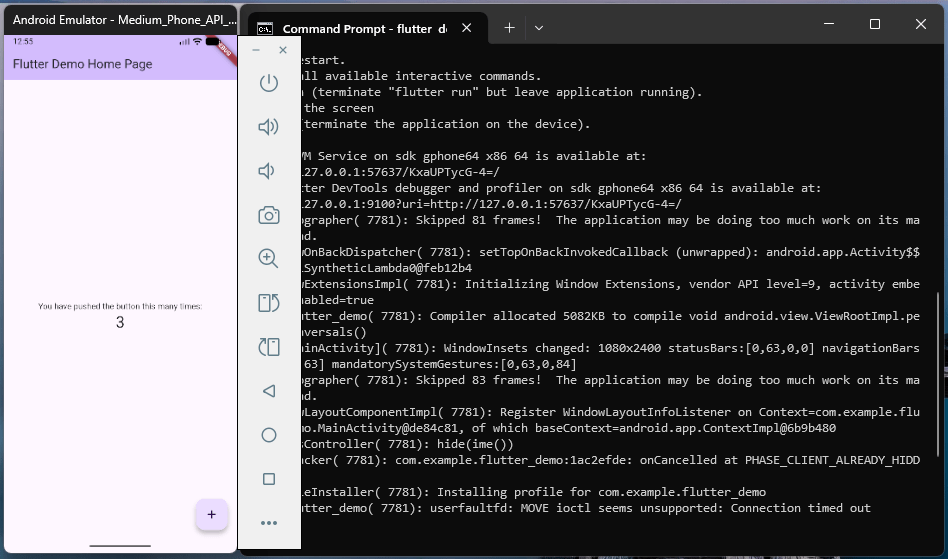
- You should see the familiar Flutter demo app load up inside your emulator:
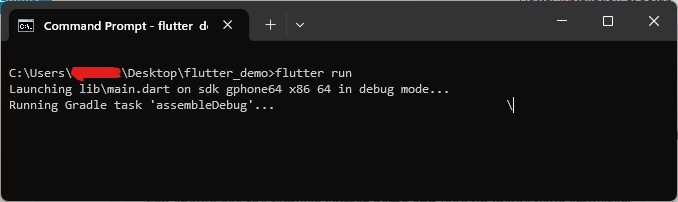
- It might take a little time for Gradle to build everything — especially the first time you run your app. Just be patient and let it finish setting things up.
- Once the build is complete, you’ll see your Flutter app appear inside the emulator — just like this:
That’s it! You’ve successfully set up Flutter — and now you’re ready to start building beautiful apps for Android, Web, Desktop, iOS, and even Smart TVs.
From here, you can explore the endless possibilities Flutter offers — from mobile apps to full-fledged multi-platform experiences.
The hard part’s done. Now it’s time to create something amazing.
Ready to Build Real Flutter Apps?
Nice work making it to the end! If this guide helped you, you’ll love my free hands-on Flutter class where we build a real app together, step by step.

