If you’ve ever set a Container width to 200 and watched Flutter completely ignore it, you’re not alone. Many beginners struggle with Flutter Container size because the layout system doesn’t always behave the way you’d expect.
Sometimes the width works. Sometimes it stretches across the screen. Sometimes the height refuses to change at all. It can feel confusing until you understand what’s really happening.
The good news is that these problems are not random. Flutter follows a simple set of layout rules. Once you learn them, you’ll spend far less time guessing and much more time building beautiful, responsive apps.
In this guide, you’ll learn how Flutter Container width and Flutter Container height actually work.
We’ll explore why width or height may not be working, how to create full width and full height containers, how constraints affect your layout, and how to build responsive designs that look great on different screen sizes.
We’ll also cover common issues like Container inside a Column or Row, overflow errors, percentage-based sizing, and much more.
By the end of this tutorial, you’ll understand not just what to do, but why Flutter behaves the way it does. That knowledge will help you solve layout problems with confidence instead of trial and error.
Build Your First Real Flutter App
Learn how Flutter works by creating a complete Android app from scratch. No prior Flutter experience required.
How Container Sizing Actually Works
Before learning different sizing techniques, it’s important to understand one simple idea:
A
Containerdoes not decide its own size.
Instead, its size depends on three things:
- The constraints it receives from its parent.
- The properties you give it, such as
widthandheight. - The size of its child, if no explicit size is provided.
This is one of the most important concepts in Flutter. Most Flutter Container layout problems happen because developers expect the Container to choose its own size. That’s not how Flutter’s layout system works.
Think of the layout process like a conversation:
- The parent tells the
Containerhow much space it is allowed to use. - The
Containerdecides its size within those limits. - Then the
Containertells its child how much space is available.
This process happens for every widget in the widget tree.
For example, if a parent allows a maximum width of 300 pixels, setting a Container width to 500 won’t make it wider. The parent wins because Flutter always respects layout constraints.
body: Center(
  child: Container(width: 500, height: 100, color: Colors.blue),
),
Code language: Dart (dart)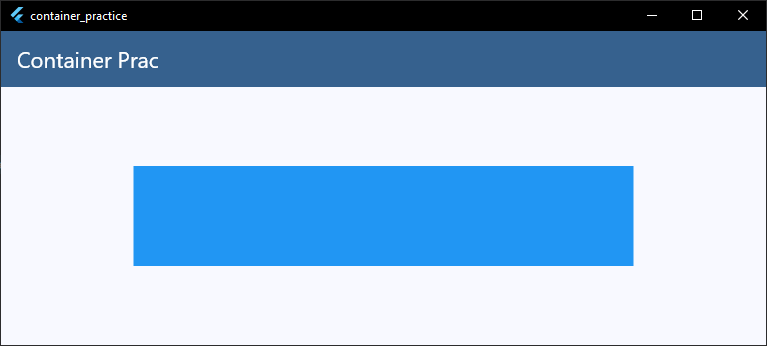
If the parent only allows 300 pixels of width, this container will still be 300 pixels wide.
This rule explains many common issues, including:
- Flutter Container width not working
- Flutter Container height not working
- Unexpected overflow errors
- Containers that stretch across the screen
- Containers that refuse to grow
Once you understand that constraints flow from parent to child, Flutter’s layout system starts making much more sense. The rest of this guide builds on this idea, so keep this rule in mind as you continue reading.
Width and Height Basics
The easiest way to control a Container size is by using the width and height properties.
body: Center(
  child: Container(width: 200, height: 100, color: Colors.blue),
),
Code language: Dart (dart)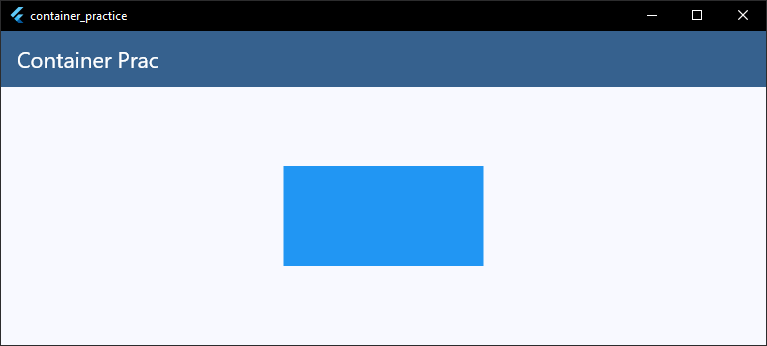
In this example, Flutter tries to create a container that is 200 pixels wide and 100 pixels tall.
Simple enough, right?
Well.. there’s one important detail.
The width and height values are requests, not guarantees. Flutter will use them only if the parent widget allows it. If the parent provides different constraints, the Container must follow those rules instead.
For example, imagine a parent only allows a maximum width of 150 pixels.
body: SizedBox(
  width: 150,
  child: Container(width: 200, height: 100, color: Colors.blue),
),
Code language: Dart (dart)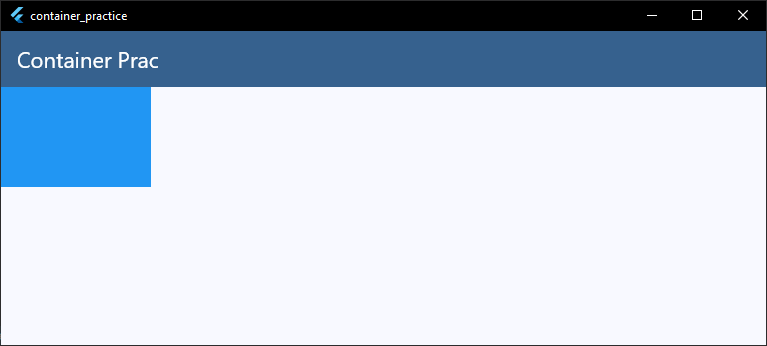
Even though the Flutter Container width is set to 200, the actual width becomes 150 pixels because that’s the most space the parent is willing to give.
The same rule applies to Flutter Container height. If the parent limits the available height, the Container cannot grow beyond that limit.
If you don’t provide a width or height, the Container behaves differently. It may size itself to match its child, expand to fill available space, or follow its parent’s constraints. We’ll look at these behaviors throughout the rest of this guide.
For now, remember this simple rule:
Setting
widthandheighttells Flutter your preferred size. The parent always has the final say.
Why Width Is Not Working
One of the most common questions beginners ask is:
“Why is my Flutter Container width not working?”
In almost every case, the answer is the same:
The parent widget is controlling the width.
Remember, a Container cannot ignore the constraints it receives from its parent. If the parent decides how wide the child should be, the Container must follow those rules.
For example, look at this code:
body: Center(
  child: Container(width: 200, height: 100, color: Colors.blue),
),
Code language: Dart (dart)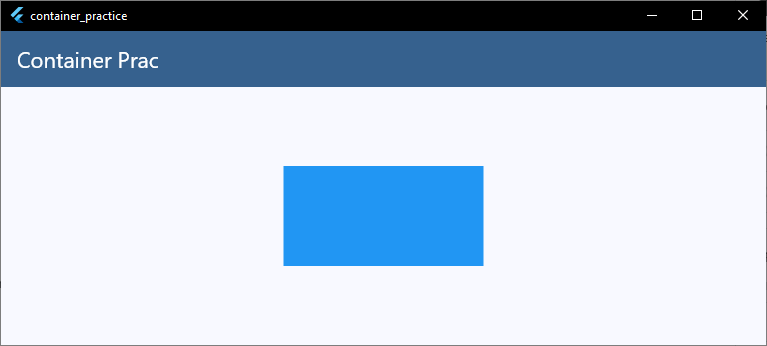
This works because Center lets the Container use its preferred width.
Now compare it with this example:
body: SizedBox(
  width: 150,
  child: Container(width: 300, height: 100, color: Colors.blue),
),
Code language: Dart (dart)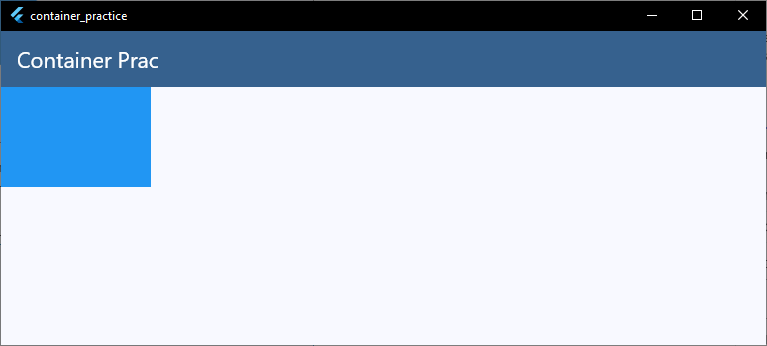
Even though the Flutter Container width is set to 300, the container will only be 150 pixels wide because the SizedBox limits the available width.
Another situation happens when a widget forces its child to fill all available space. In those cases, changing the width property may appear to have no effect because the parent has already decided the final size.
If your width isn’t changing, ask yourself these questions:
- Is the parent limiting the available width?
- Is another widget forcing the child to expand?
- Is the
Containerinside aRow,Column, or another layout widget with its own sizing rules?
Once you start looking at the parent instead of the Container, most width problems become much easier to understand and fix.
Why Height Is Not Working
Just like width, the Flutter Container height depends on the constraints provided by its parent.
If the parent doesn’t allow more height, the Container cannot become taller, even if you specify a larger value.
For example, this works as expected:
body: Center(
  child: Container(width: 200, height: 120, color: Colors.green),
),
Code language: Dart (dart)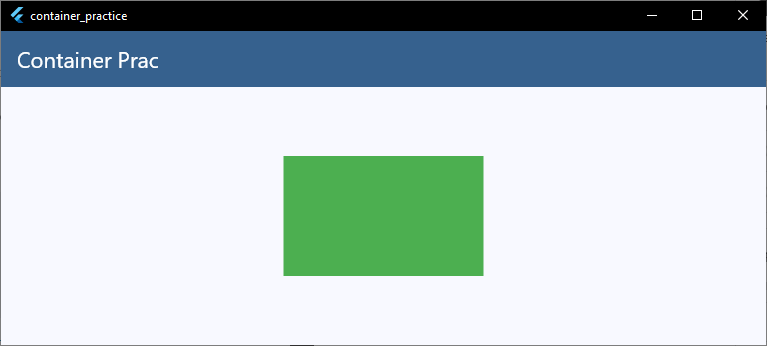
Since Center lets the Container choose its preferred size, the height becomes 120.
Now look at this example:
body: SizedBox(
  height: 80,
  child: Container(width: 200, height: 150, color: Colors.green),
),
Code language: Dart (dart)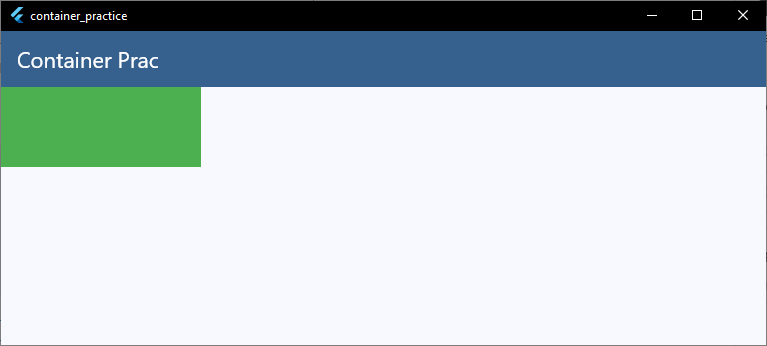
Although the Flutter Container height is set to 150, the container will only be 80 pixels tall because the SizedBox limits the available height.
Another common source of confusion is placing a Container inside layout widgets like Column. Depending on the available space and the layout rules, the height property may not behave the way you expect. We’ll cover that later in this guide.
If your height doesn’t seem to change, check these questions:
- Is the parent limiting the available height?
- Is another widget deciding the child’s size?
- Is the
Containerinside a layout widget likeColumnorRow?
Whenever you run into a Flutter Container height not working issue, don’t start by changing the Container. Instead, look at the widget above it. In Flutter, the parent almost always holds the answer.
Fit Content vs Fill Parent
One of the biggest differences in Flutter layouts is understanding whether a Container should fit its content or fill its parent.
These are two very different behaviors, and knowing the difference will help you avoid many common layout issues.
Fit Content
If you don’t provide a width or height, a Container often sizes itself around its child.
body: Container(
  color: Colors.blue,
  padding: const EdgeInsets.all(16),
  child: const Text('Hello Flutter'),
),
Code language: Dart (dart)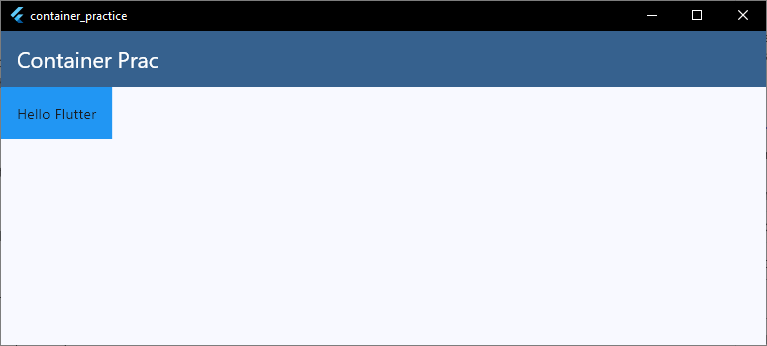
In this example, the Container is only as large as it needs to be to display the text and its padding. This is often called Flutter Container fit content or Flutter Container width fit content.
The container doesn’t take up extra space because nothing tells it to.
Fill Parent
Sometimes you want the Container to use all the space its parent offers.
For example:
body: Container(
  width: double.infinity,
  height: 100,
  color: Colors.blue
),
Code language: Dart (dart)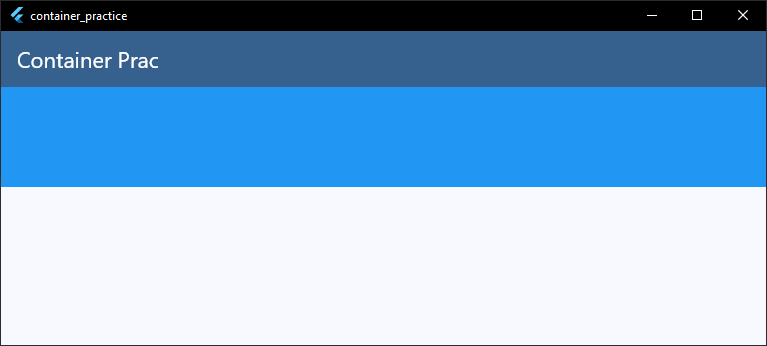
Here, width: double.infinity tells the Container to fill all the available horizontal space. This is commonly known as a Flutter Container full width or Flutter Container fill width.
Remember that double.infinity does not mean infinite size. It simply tells Flutter:
“Make me as wide as my parent allows.”
If the parent only provides 300 pixels of width, the Container becomes 300 pixels wide.
The same idea applies to height when the parent provides bounded vertical space.
As a general rule:
- Use fit content when the widget should wrap around its child.
- Use fill parent when the widget should occupy all the available space.
Choosing between these two behaviors is one of the most important decisions you’ll make when building Flutter layouts.
Full Width Containers
Making a Flutter Container full width is one of the most common layout tasks. Whether you’re building a button, a card, or a banner, you’ll often want the container to stretch across the available space.
The simplest way to do this is with double.infinity.
body: Container(
  width: double.infinity,
  height: 80,
  color: Colors.blue
),
Code language: Dart (dart)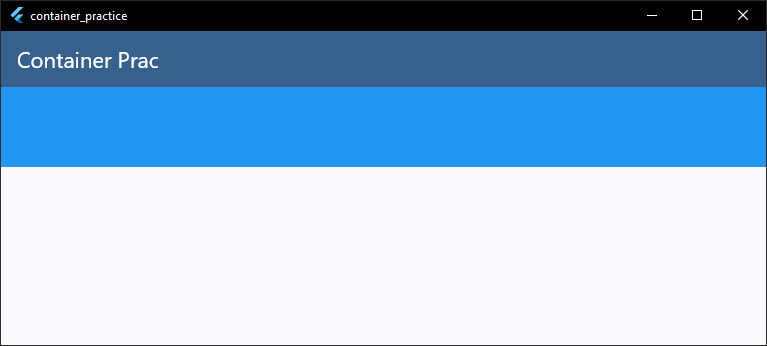
Here, width: double.infinity tells Flutter:
“Use all the horizontal space my parent gives me.”
This is the recommended way to create a Flutter Container fill width in most situations.
It’s important to remember that double.infinity does not make the container infinitely wide. The parent still controls the maximum width.
For example, if the parent is only 300 pixels wide, the container will also be 300 pixels wide.
body: SizedBox(
  width: 300,
  child: Container(
    width: double.infinity,
    height: 80,
    color: Colors.blue,
  ),
),
Code language: Dart (dart)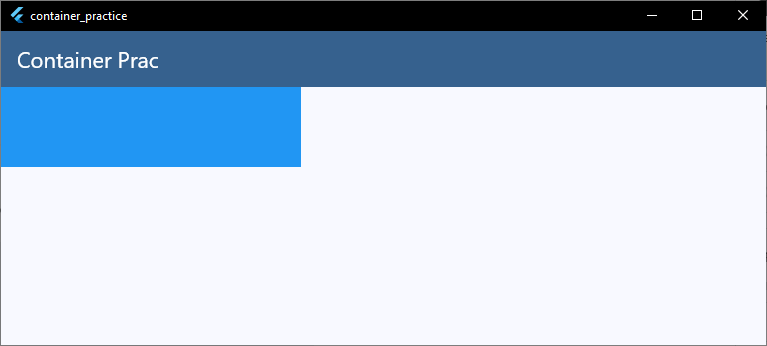
In this example, the container fills the SizedBox, not the entire screen.
You’ll often see width: double.infinity used for:
- Full-width buttons
- Cards that span the screen
- Headers and banners
- Form fields
- List items
If width: double.infinity doesn’t seem to work, the parent is usually the reason. A parent with unbounded or conflicting constraints may prevent the container from expanding as expected.
The key idea is simple:
A Flutter Container can only fill the space that its parent makes available. Even when using
double.infinity, the parent always decides the final width.
Full Height Containers
Creating a Flutter Container full height works much like creating a full-width container, but there’s one important difference.
Unlike width, vertical space is often limited by the parent. That means a Container can only become as tall as the space it receives.
The most common approach is to use double.infinity.
body: Container(
  width: 120,
  height: double.infinity,
  color: Colors.green
),
Code language: Dart (dart)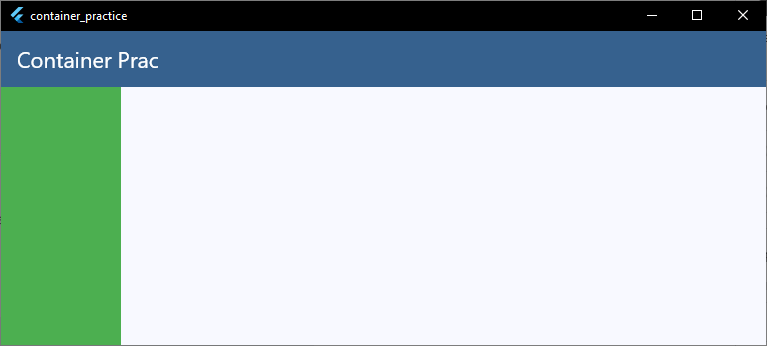
This tells Flutter:
“Make me as tall as my parent allows.”
If the parent has a fixed height, the Container fills it.
body: SizedBox(
  height: 300,
  child: Container(
    width: 120,
    height: double.infinity,
    color: Colors.green,
  ),
),
Code language: Dart (dart)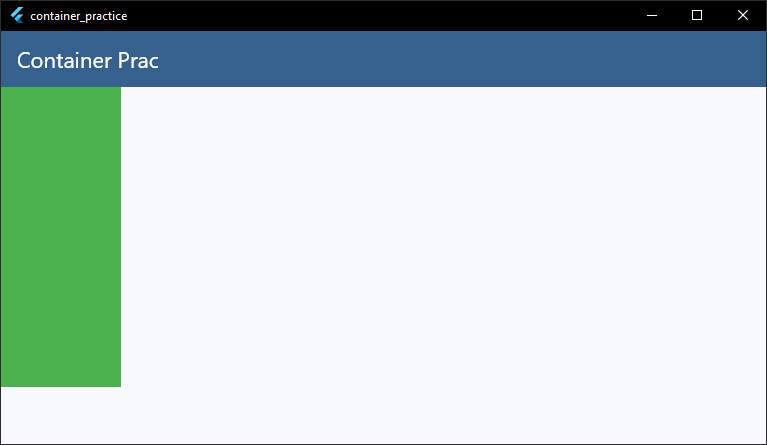
In this example, the container becomes 300 pixels tall because that’s the height provided by the SizedBox.
However, height: double.infinity doesn’t always work.
For example, placing a Container with height: double.infinity directly inside a Column may cause a layout error because the Column doesn’t always provide a bounded height to its children.
body: Column(
  children: [
    Container(
      height: double.infinity,
      color: Colors.green
    )
  ],
),
Code language: Dart (dart)
Flutter doesn’t know how tall the container should be because the available height is effectively unlimited. As a result, you’ll often see an exception about unbounded constraints.
We’ll look at solutions for this later when we cover Flutter Container inside Column and constraints.
For now, remember this rule:
A Flutter Container can only fill the height that its parent provides. If the parent doesn’t define a height,
double.infinitycannot create one on its own.
Match Parent Behavior
Sometimes you don’t want to give a Container a specific width or height. Instead, you simply want it to be the same size as its parent.
In Flutter, this happens naturally when the parent tells the Container exactly how much space to use.
For example, imagine a parent with a fixed size:
body: SizedBox(
  width: 250,
  height: 120,
  child: Container(color: Colors.orange),
),
Code language: Dart (dart)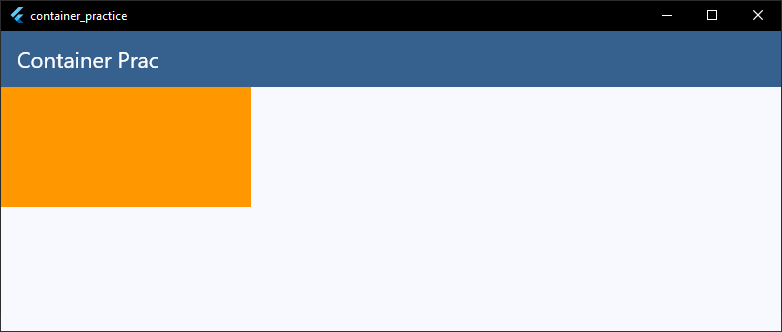
Even though the Container doesn’t specify a width or height, it becomes 250 × 120 because that’s the exact size the parent provides.
In other words, the Container automatically matches its parent.
This is why you’ll often hear developers talk about a Flutter Container fill parent. In many cases, you don’t need to write any special code. If the parent gives the child a fixed size, the Container simply fills it.
You can also make this behavior explicit by using double.infinity when appropriate.
body: SizedBox(
  width: 250,
  height: 120,
  child: Container(
    width: double.infinity,
    height: double.infinity,
    color: Colors.orange,
  ),
),
Code language: Dart (dart)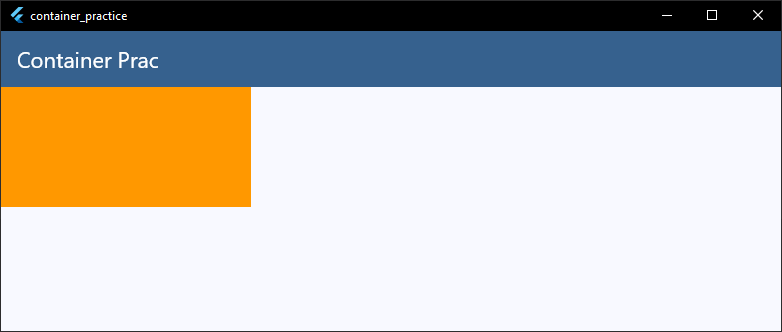
The result is exactly the same. The Container fills the available space, but it still cannot become larger than its parent.
Keep in mind that matching the parent only works when the parent has a defined size. If the parent’s size depends on its child or provides unbounded constraints, the Container cannot magically determine how large it should be.
The key takeaway is simple:
A
Containerdoesn’t measure its parent and copy its size. It matches the parent because the parent tells it exactly how much space to use. That’s an important part of Flutter’s layout system and explains much of the Flutter Container layout behavior you’ll see in real apps.
Min Width and Max Width
Sometimes you don’t want a Container to have one fixed width. Instead, you want it to stay within a certain range.
That’s where constraints come in.
You can use the constraints property with BoxConstraints to set a minimum width, a maximum width, or both.
body: Container(
  constraints: const BoxConstraints(
    minWidth: 150,
    maxWidth: 300
  ),
  height: 80,
  color: Colors.blue,
),
Code language: Dart (dart)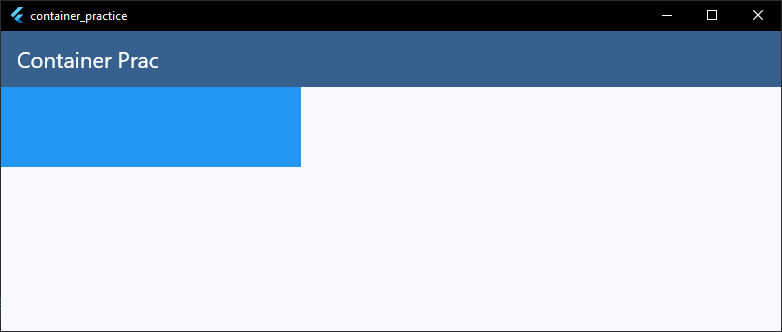
In this example:
- The container will never be smaller than 150 pixels wide.
- The container will never be larger than 300 pixels wide.
- If the available space is between those values, Flutter chooses the appropriate width based on the layout.
This approach is much more flexible than assigning a fixed width.
For example, a card might grow on a tablet but stop expanding after it reaches a comfortable reading width.
You can also combine a fixed width with constraints.
body: Container(
  width: 250,
  constraints: const BoxConstraints(
    minWidth: 200,
    maxWidth: 300
  ),
  color: Colors.blue,
),
Code language: Dart (dart)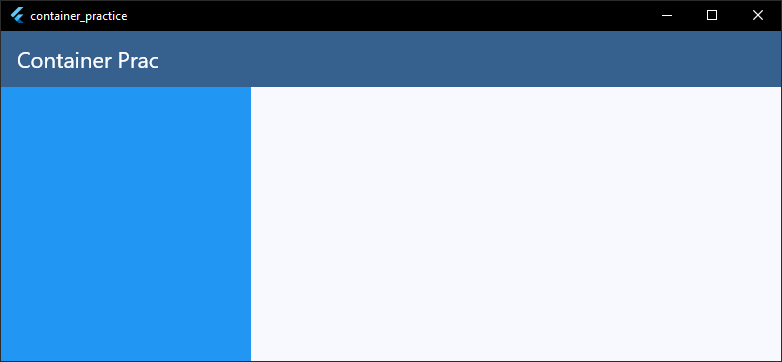
Since 250 falls between the minimum and maximum values, the container becomes 250 pixels wide.
If you change the width to 350, Flutter limits it to the maximum width of 300. Likewise, if you set the width to 100, Flutter increases it to the minimum width of 150.
This is why Flutter Container max width and Flutter Container min width are useful. They let your UI adapt to different screen sizes without becoming too small or too large.
Keep in mind that these constraints still work within the limits of the parent. If the parent only allows 200 pixels of width, the Container cannot grow beyond that, even if the maxWidth is set to 300.
We’ll take a closer look at how BoxConstraints works in the Constraints Explained section later in this guide.
Turn Flutter Knowledge into Real Projects
If you’re enjoying this guide, the Flutter Foundation Course takes you from the basics to building well-structured apps with clear explanations and hands-on practice.
Min Height and Max Height
Just like width, you can also control the minimum and maximum height of a Container using BoxConstraints.
This is useful when you want a widget to grow or shrink, but only within a reasonable range.
body: Container(
  constraints: const BoxConstraints(
    minHeight: 100,
    maxHeight: 250
  ),
  color: Colors.green,
),
Code language: Dart (dart)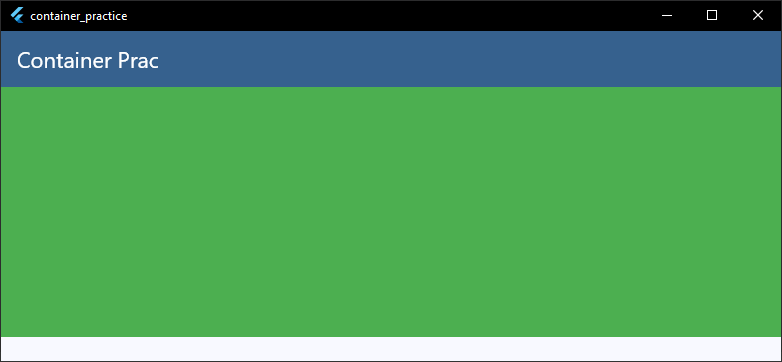
In this example:
- The container will never be shorter than 100 pixels.
- The container will never be taller than 250 pixels.
- Flutter chooses the final height based on the available space and the layout.
This is often more practical than assigning a fixed height because it allows your UI to adapt while still maintaining a good appearance.
You can also combine a height with constraints.
body: Container(
  height: 180,
  constraints: const BoxConstraints(
    minHeight: 100,
    maxHeight: 250
  ),
  color: Colors.green,
),
Code language: Dart (dart)
Since 180 is between the minimum and maximum values, the container becomes 180 pixels tall.
If you change the height to 300, Flutter limits it to the maximum height of 250. If you set it to 50, Flutter increases it to the minimum height of 100.
Using Flutter Container min height and Flutter Container max height is especially helpful for widgets whose content can change, such as cards, dialogs, and information panels.
They prevent the UI from becoming too cramped or unnecessarily large.
Just like with width, these limits cannot override the parent’s constraints. If the parent only provides 150 pixels of vertical space, the Container must fit within that space, regardless of its maxHeight.
In short, minHeight and maxHeight let you define a comfortable height range, while the parent still decides the final amount of space that’s available.
Constraints Explained
If there’s one concept that will completely change how you build Flutter layouts, it’s constraints. Almost every Flutter Container constraints question comes back to this one idea.
A constraint is simply a set of rules that tells a widget how much space it is allowed to use. Every widget in Flutter receives constraints from its parent before it decides its own size.
You can think of the layout process like this:
- The parent sends constraints to the child.
- The child chooses a size within those constraints.
- The parent positions the child on the screen.
This process happens for every widget in your app.
For example, a parent might tell its child:
- Your width must be between 100 and 300 pixels.
- Your height can be anywhere from 50 to 200 pixels.
The child is free to choose any size within those limits, but it cannot go beyond them.
You can also define your own constraints using BoxConstraints.
body: Container(
  constraints: const BoxConstraints(
    minWidth: 150,
    maxWidth: 300,
    minHeight: 80,
    maxHeight: 200,
  ),
  color: Colors.blue,
),
Code language: Dart (dart)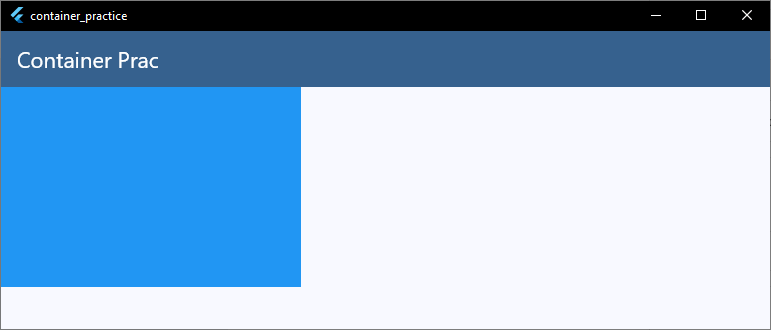
Here, the Container can grow and shrink, but only within the range you’ve defined.
Sometimes developers say their Flutter Container constraints are not working. In reality, the constraints are usually working exactly as intended. The problem is often that the parent has already applied tighter constraints.
For example, if a parent only provides 180 pixels of width, setting maxWidth: 300 doesn’t magically create more space. The parent has already decided that only 180 pixels are available.
This is one of the golden rules of Flutter:
Parents set constraints. Children choose a size within those constraints. Parents position the children.
If you remember that sentence, you’ll understand why most layout problems happen and how to solve them.
If you’d like to explore this topic in greater depth, check out our Flutter Constraints Explained guide, where we break down Flutter’s layout engine with diagrams, animations, and real-world examples.
Responsive Width with MediaQuery
A fixed width might look perfect on one device but completely wrong on another.
For example, a container that’s 350 pixels wide may fit nicely on a tablet but overflow on a smaller phone.
That’s why responsive layouts are so important.
One of the easiest ways to create a Flutter Container responsive layout is by using MediaQuery to get the screen size.
body: Container(
  width: MediaQuery.of(context).size.width,
  height: 100,
  color: Colors.blue,
),
Code language: Dart (dart)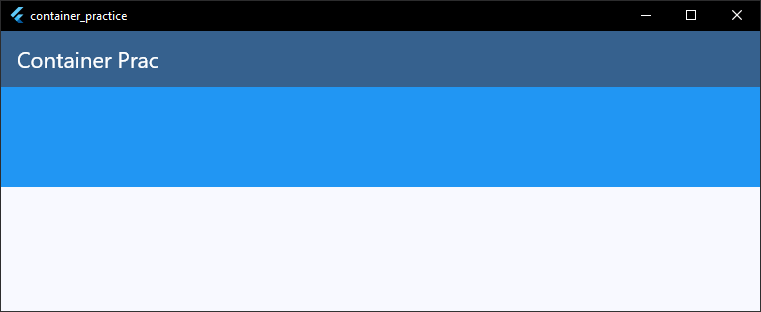
Here, the Container becomes as wide as the current screen.
Most of the time, however, you won’t need this. If your goal is simply to make a Flutter Container full width, width: double.infinity is usually the cleaner and more readable solution.
MediaQuery becomes especially useful when you want to calculate a custom width based on the screen size.
For example, you might want a card that doesn’t span the entire screen.
body: Container(
  width: MediaQuery.of(context).size.width * 0.8,
  height: 100,
  color: Colors.blue,
),
Code language: Dart (dart)
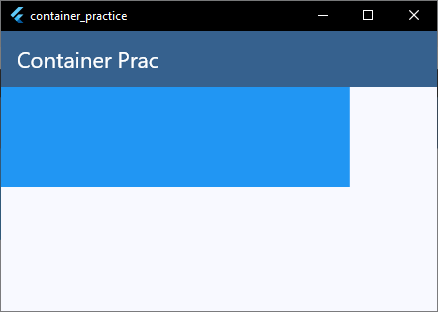
This creates a container that’s 80% of the screen width, regardless of the device.
Responsive sizing helps your app look good on:
- Small phones
- Large phones
- Tablets
- Foldable devices
- Desktop screens
While MediaQuery is still widely used and fully supported, Flutter also provides newer responsive tools such as LayoutBuilder for building layouts based on the available space rather than the entire screen.
For many simple sizing tasks, though, MediaQuery remains a straightforward and reliable choice.
If you’re interested in building layouts that adapt beautifully to every screen size, be sure to read our Flutter Responsive Design and Flutter Screen Size Adaptation guides next.
Percentage-Based Sizing
If you’re coming from web development, you might wonder:
“Can I set a Flutter Container width percentage, like
width: 50%?”
The answer is not directly.
Unlike CSS, Flutter doesn’t have percentage values for width or height. Instead, you calculate the size yourself based on the available space.
The most common approach is to use MediaQuery.
body: Container(
  width: MediaQuery.of(context).size.width * 0.5,
  height: 100,
  color: Colors.blue,
),
Code language: Dart (dart)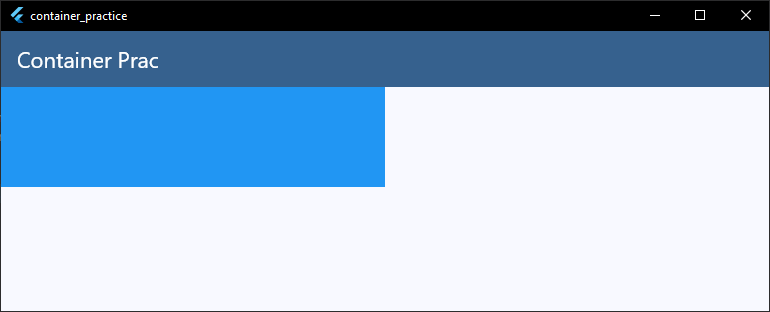
This creates a Flutter Container percentage width of 50% of the screen.
You can use any percentage you need:
0.25for 25%0.5for 50%0.75for 75%1.0for 100%
You can do the same for height.
body: Container(
  width: 200,
  height: MediaQuery.of(context).size.height * 0.3,
  color: Colors.green,
),
Code language: Dart (dart)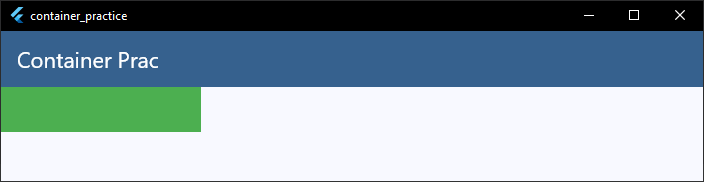
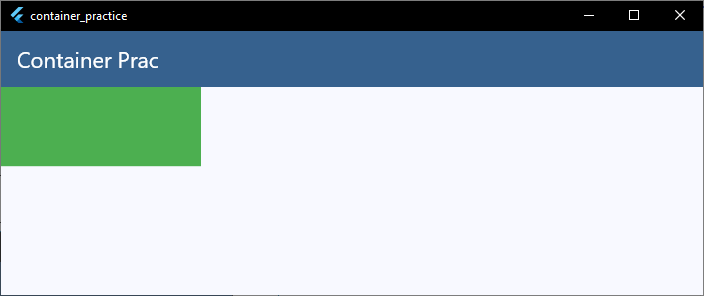
Here, the container uses 30% of the screen height. However, remember that using the entire screen size isn’t always the best choice.
If your Container is inside another widget, such as a card or a side panel, using MediaQuery may produce unexpected results because it measures the whole screen, not the available space inside the parent.
In those situations, LayoutBuilder is often a better option because it gives you the constraints of the parent widget.
body: LayoutBuilder(
  builder: (context, constraints) {
    return Container(
      width: constraints.maxWidth * 0.5,
      height: 100,
      color: Colors.blue,
    );
  },
),
Code language: Dart (dart)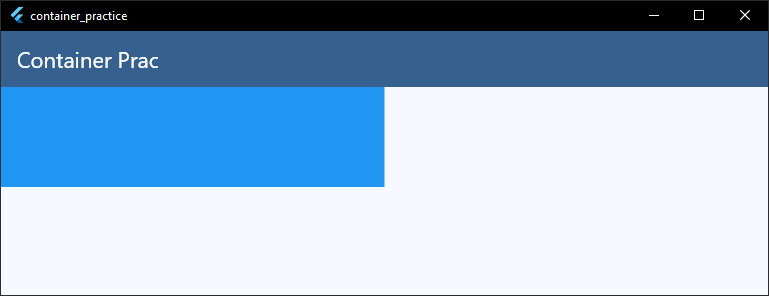
This creates a container that’s 50% of its parent’s width, making it much more flexible in responsive layouts.
As a general rule:
- Use
MediaQuerywhen you need a percentage of the screen. - Use
LayoutBuilderwhen you need a percentage of the available space provided by the parent.
Understanding this difference will help you build responsive Flutter layouts that work correctly across many different screen sizes.
Container Inside Column Problems
One of the most common layout questions is:
“Why is my Flutter Container inside Column not behaving correctly?”
The answer usually comes down to how Column lays out its children.
By default, a Column gives its children unbounded height. In other words, it lets each child decide how tall it wants to be.
This works perfectly for most widgets.
body: Column(
  children: [
    Container(
      width: 200,
      height: 100,
      color: Colors.blue
    )
  ],
),
Code language: Dart (dart)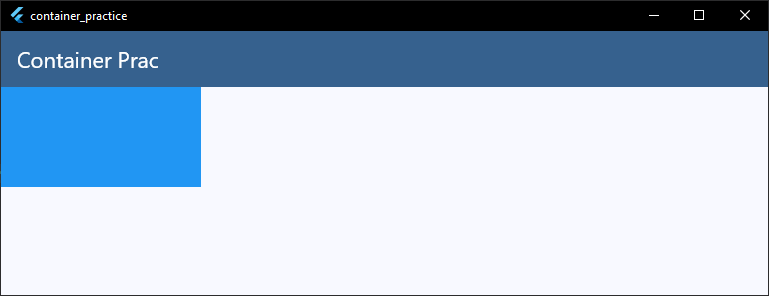
Here, the container is 100 pixels tall because you’ve explicitly provided a height.
Problems begin when you try to make the container fill the available vertical space.
body: Column(
  children: [
    Container(
      height: double.infinity,
      color: Colors.blue
    )
  ],
),
Code language: Dart (dart)
This will cause a layout error because the Column doesn’t tell the Container how much height is actually available. Flutter can’t make the container infinitely tall, so it throws an exception.
The correct solution is usually to use Expanded.
body: Column(
  children: [
    Expanded(
      child: Container(
        color: Colors.blue
      )
    )
  ],
),
Code language: Dart (dart)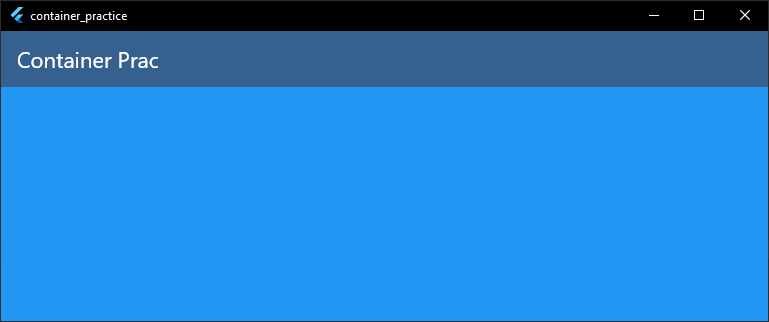
Expanded tells the Column to give the Container all of the remaining vertical space. This is the recommended way to create a Flutter Container fill parent inside a Column.
You can also use Flexible when you want the child to take available space without being forced to fill all of it.
We’ll compare these two widgets in detail in our Flutter Expanded vs Flexible guide.
The key takeaway is simple:
Inside a
Column, avoid usingheight: double.infinityto fill the available space. UseExpandedorFlexibleinstead. They work with Flutter’s layout system instead of fighting against it.
Container Inside Row Problems
Just like Column, a Row has its own layout rules. Understanding them will save you from many confusing sizing issues.
By default, a Row lets its children decide how wide they want to be. It places them next to each other until there is no more horizontal space.
Here’s a simple example:
body: Row(
  children: [
    Container(width: 120, height: 80, color: Colors.blue),
    Container(width: 120, height: 80, color: Colors.green),
  ],
),
Code language: Dart (dart)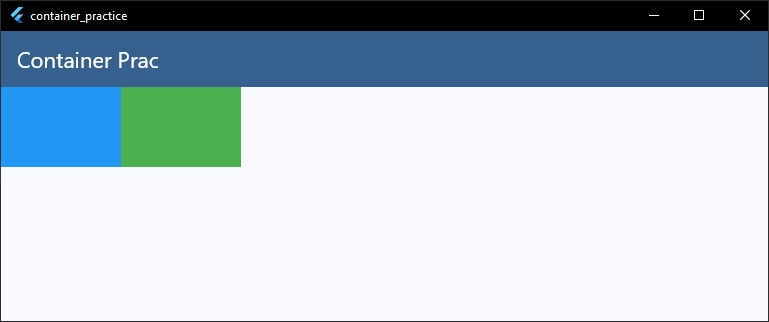
This works because both containers have a fixed width.
Problems usually appear when you want a Flutter Container expand width inside a Row.
For example, this code does not work as you might expect:
body: Row(
  children: [
    Container(
      width: double.infinity,
      height: 80,
      color: Colors.blue
    ),
  ],
),
Code language: Dart (dart)
This causes a layout error because the Row doesn’t provide a bounded width for its children. The Container asks for all the horizontal space, but Flutter doesn’t know how much that should be.
The correct solution is to wrap the Container with Expanded.
body: Row(
  children: [
    Expanded(
      child: Container(
        height: 80,
        color: Colors.blue
      )
    )
  ],
),
Code language: Dart (dart)
Now the Container fills all the remaining horizontal space in the Row.
If you want multiple containers to share the available width, you can wrap each one with Expanded.
body: Row(
  children: [
    Expanded(child: Container(height: 80, color: Colors.blue)),
    Expanded(child: Container(height: 80, color: Colors.green)),
  ],
),
Code language: Dart (dart)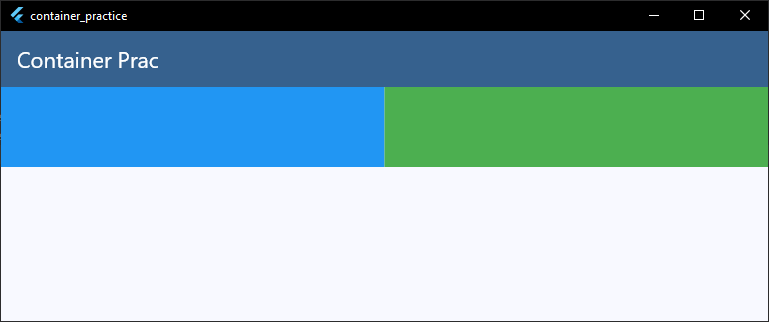
Each container now takes half of the available width.
The important thing to remember is this:
- A
Rowcontrols horizontal layout. width: double.infinityusually isn’t the right way to fill space inside aRow.- Use
ExpandedorFlexiblewhen you want children to grow and share the available width.
Once you understand this pattern, most Flutter Container row sizing problems become much easier to solve.
Overflow Issues
Seeing a yellow and black striped warning on your screen can be alarming the first time it happens.
That’s Flutter’s way of telling you that a widget is too large for the available space. This is called an overflow.
A Flutter Container overflow usually happens when the Container or its child is bigger than the space provided by the parent.
For example:
body: SizedBox(
  width: 200,
  child: Container(
    width: 300,
    color: Colors.blue
  ),
),
Code language: Dart (dart)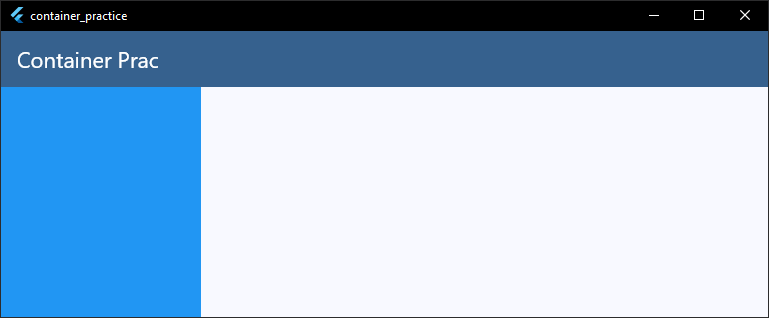
The Container wants to be 300 pixels wide, but the SizedBox only provides 200 pixels. Flutter can’t satisfy both requests, so the layout overflows.
Overflow can also happen inside widgets like Row and Column.
body: Row(
  children: [
    Container(width: 500, height: 80, color: Colors.red),
    Container(width: 500, height: 80, color: Colors.blue),
  ],
),
Code language: Dart (dart)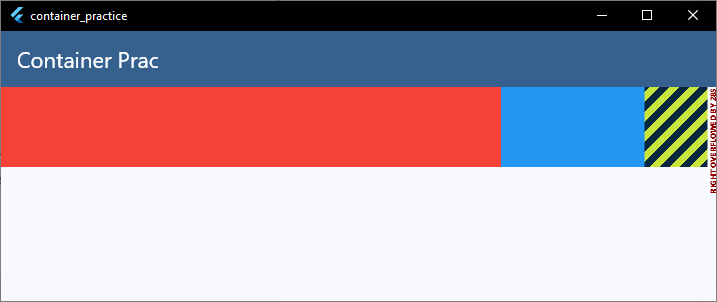
If the screen isn’t wide enough to fit both containers, Flutter reports a horizontal overflow.
How to Fix Overflow
The solution depends on the situation, but these approaches solve most overflow problems:
- Reduce the size of the
Container. - Wrap children with
ExpandedorFlexibleinside aRoworColumn. - Use a
SingleChildScrollViewif the content should be scrollable. - Make your layout responsive using
MediaQueryorLayoutBuilder.
Hiding Overflow with clipBehavior
Sometimes you intentionally want part of a child widget to extend outside its parent. Other times, you want anything outside the parent to be hidden.
You can control this using the clipBehavior property.
body: Container(
  clipBehavior: Clip.hardEdge,
  decoration: BoxDecoration(
    borderRadius: BorderRadius.circular(16),
    color: Colors.blue,
  ),
  child: Image.network(
    'https://images.pexels.com/photos/38492190/pexels-photo-38492190.jpeg',
    fit: BoxFit.cover,
  ),
),
Code language: Dart (dart)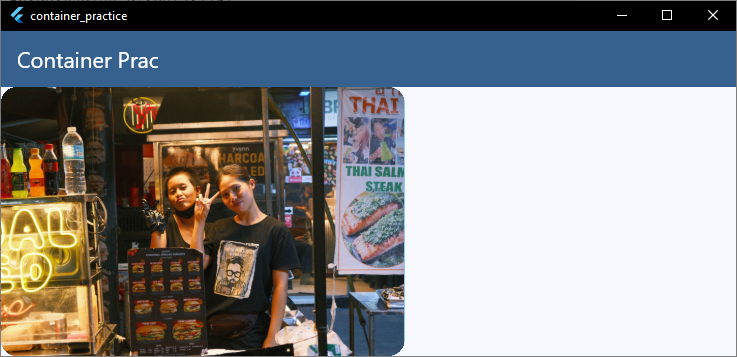
This clips anything that extends beyond the container’s rounded corners. It’s a common solution when people search for Flutter Container overflow hidden.
Keep in mind that clipBehavior only controls what is painted outside the container. It does not fix layout problems or prevent overflow errors caused by invalid constraints.
The best way to avoid overflow is to build layouts that respect Flutter’s constraint system. Clipping is useful for visual effects, but it shouldn’t be used as a substitute for proper layout.
Auto Height and Dynamic Height
In many cases, you don’t need to specify a height for a Container at all.
If you leave the height property unset, the Container automatically grows just enough to fit its child. This is often called auto height or dynamic height.
body: Container(
  padding: const EdgeInsets.all(16),
  color: Colors.blue,
  child: const Text('FlutterSensei makes learning Flutter easier.'),
),
Code language: Dart (dart)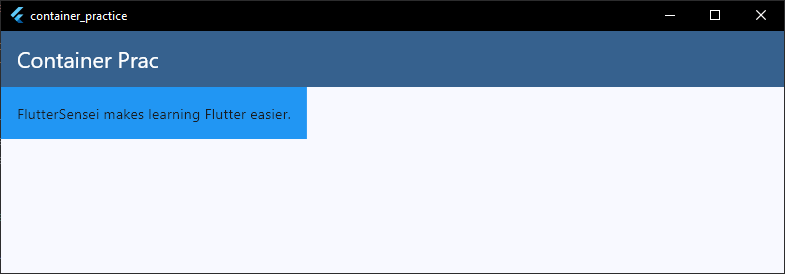
Here, the Container becomes only as tall as it needs to be to display the text and its padding.
If the content grows, the Container grows too.
body: Container(
  padding: const EdgeInsets.all(16),
  color: Colors.green,
  child: Column(
    mainAxisSize: MainAxisSize.min,
    children: const [
      Text('Title'),
      SizedBox(height: 8),
      Text(
        'This is a longer description that takes up more vertical space.',
      ),
    ],
  ),
),
Code language: Dart (dart)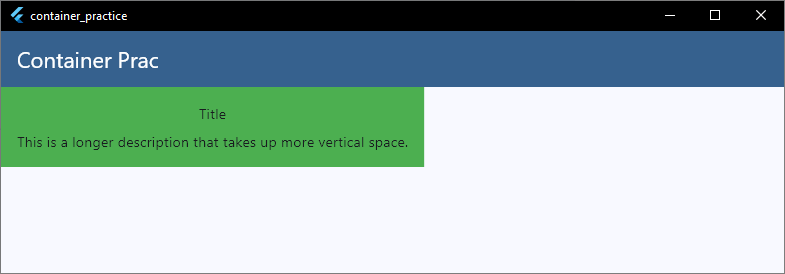
Because the Column uses mainAxisSize: MainAxisSize.min, it wraps its contents instead of expanding. The Container then adjusts its height to fit the Column.
This behavior is useful for many UI elements, including:
- Cards
- Chat bubbles
- Dialogs
- Information panels
- List items
In all of these cases, you usually don’t know how much content will be displayed, so letting the Container size itself dynamically creates a more flexible layout.
It’s important to remember that dynamic height still respects the parent’s constraints. If the parent limits the available height, the Container cannot continue growing forever.
As a general rule, avoid giving a fixed height unless your design truly requires one. Letting the Container adapt to its content often produces layouts that are more responsive and easier to maintain.
Understanding Flutter Layout Rules
If you’ve made it this far, you’ve already learned the secret behind almost every Container sizing problem in Flutter.
It’s not about memorizing widget properties.
It’s about understanding how Flutter’s layout system works.
Whenever a layout doesn’t behave the way you expect, come back to these three simple rules:
- Parents send constraints to their children.
- Children choose a size within those constraints.
- Parents position their children on the screen.
These three steps happen for every widget in your app, whether it’s a Container, Text, Row, Column, or any other widget.
That’s why changing a Container‘s width or height doesn’t always solve the problem. The parent may simply not allow the size you’re asking for.
As you continue building Flutter apps, you’ll notice that many seemingly different issues all have the same root cause:
- A Flutter Container width not working
- A Flutter Container height not working
- Overflow errors
- Responsive layout issues
- Widgets that refuse to expand
- Constraints that seem confusing
Once you start thinking in terms of constraints instead of widget properties, these problems become much easier to understand and fix.
The best Flutter developers don’t memorize solutions. They understand the layout engine, which allows them to solve new problems with confidence.
If you’d like to go beyond simple examples and learn how to debug real-world layout issues, check out our guides on Flutter Constraints Explained, Flutter Expanded vs Flexible, Flutter Row and Column Masterclass, Flutter Responsive Design, and Flutter Screen Size Adaptation.
Want to stop guessing and start understanding Flutter layouts?
Most layout bugs happen because developers memorize widgets instead of understanding Flutter’s layout engine.In the FlutterSensei implementation course, you’ll debug real application layouts step by step, learn how constraints flow through complex widget trees, and fix UI issues with confidence instead of trial and error.
Start Learning Flutter the Right Way
You’ve finished this guide. If you’d like to keep learning, start with the free class or jump straight into the complete Foundation Course.